
The initial reveal of the upstairs hall bathroom was here, but that was just a partial reveal- I hadn't actually finished the bathroom.

Here's what it looked like before I got started- blah and boring.

It looked like this after the initial reveal- new paint on the walls and ceiling, new light fixture- much better, but still needed more work.
The bathroom looked like the above pic for quite awhile, but I finally got around to painting the vanity and medicine cabinet and installing hardware. There were no knobs before, so we were always scrabbling around the top edge of the door to open it- very annoying.
I used a cabinet painting system by Rustoleum to paint the vanity and medicine cabinet, but I'm not sure I would use the product again. I think it would be cheaper to just buy some shellac-based primer (like Zinsser BIN), some primer, some paint, and some polycrylic to seal it all. I did that in the master bath and think the results are just as good, if not better. The polycrylic included in the Rustoleum kit has caused a small amount of yellowing, though it's not supposed to.
The bathroom was looking pretty bland at that point, so I added some color with a shower curtain, bath mats, and towels I found at Target. I love the teal color! I initially thought the whole shower curtain (there'll be a better picture in a little bit) was the darker teal color, but realized when I hung it up that that wasn’t the case, unfortunately. I still like it though.

And then I didn't make any more progress for awhile. So it looked like the above picture. Notice the toilet paper sitting on the counter- I removed the TP holder, but hadn't gotten around to replacing it yet.
Not too long ago I was pushing to finish all the little details around the house (upstairs at least) so I could finally cross them off the list as DONE. I finally buckled down and took care of the finishing touches in the bathroom.

I hung up a row hooks (from IKEA awhile ago) to take the place of the towel rod I removed at the beginning of this project.

I also installed a frame around the mirror, which I think makes it look a lot more finished. I installed a towel hook between the mirror and the window. It's a tight fit, but I think it works better than putting one on the wall on the other side of the sink. The medicine cabinet eats up a lot of otherwise useable space.

Not the best lighting, but you can see the valance I sewed (from a much-larger one purchased at Target) and the 2" faux wood blinds that replaced the nasty mini blinds.

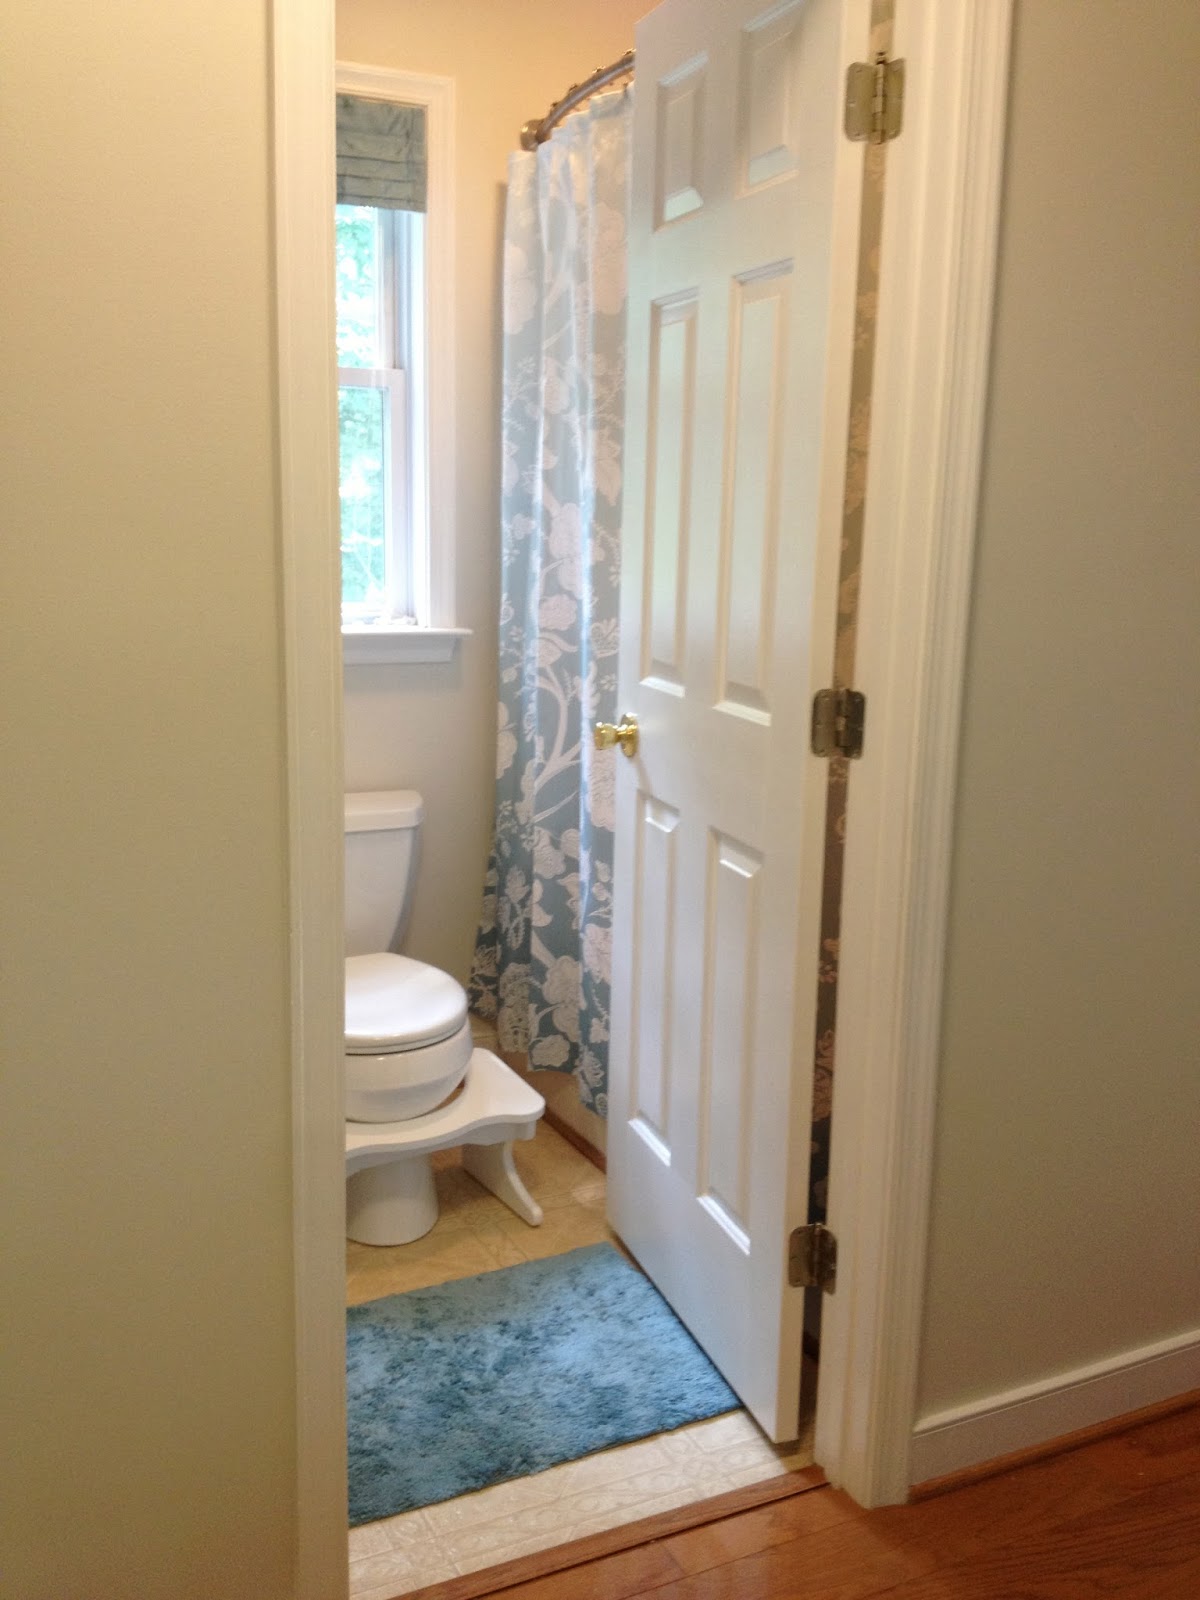
Behind the door you get a view of the ombre effect on the shower curtain, as well as the robe hook I put next to the tub and the hooks on the back of door.

Above you can see the old toilet paper holder. The rod that supported the tp just sat on the little hooky things. Every time we bumped into it, the tp and rod fell to the floor. It was annoying, to say the least.

Here you can see the nice, normal toilet paper holder I installed, as well as get a better idea of the placing of the row of hooks on the wall.
Overall I'm pleased with the results- I love the color of the bath mat and shower curtain (though I do wish it was the darker color all the way up). The thing I noticed after painting the vanity is that it blends into the wall a bit more than I'd like. I'll probably end up repainting the walls at some point to provide a bit more contrast, but at this point I don't have any ideas about what color. Possibly a light gray? Or maybe I'll do just one wall in a teal that matches the linens. Though that would make it a lot harder to just switch colors in there. So it'll stay as it is for the foreseeable future.

Wondering about the white thing in front of the toilet? It's a squatty potty- it's supposed to help with proper positioning for elimination (how's that for innocuous language?). LMS and I like it, but Mr M hasn't been won over yet. He's got longer legs and is a lot less limber than us, so it's harder for him to use it.
No comments:
Post a Comment