This post has taken me two months to finish, mostly because I didn't have time to edit all the photos in it. I left it till last because I knew it would take me the longest to do, but I didn't think it would take me this long to find time to sit down and take care of.
When Sunshine said she wanted to dress up as Ahsoka Tano for Halloween I had to google her to find out what she looked like before I agreed to make the costume. There's actually two versions, but I made the outfit from the later seasons of the animated Star Wars Clone Wars tv show because it's more modest.
I read through some tutorials to get ideas and decided it was doable, but would be the most complicated of the costumes I had planned. There are 8 parts to this costume:
1. Head tails
Mr M and I laughed when Sunshine called them this, but then I found out that they actually are called head tails, as well as being called leku.
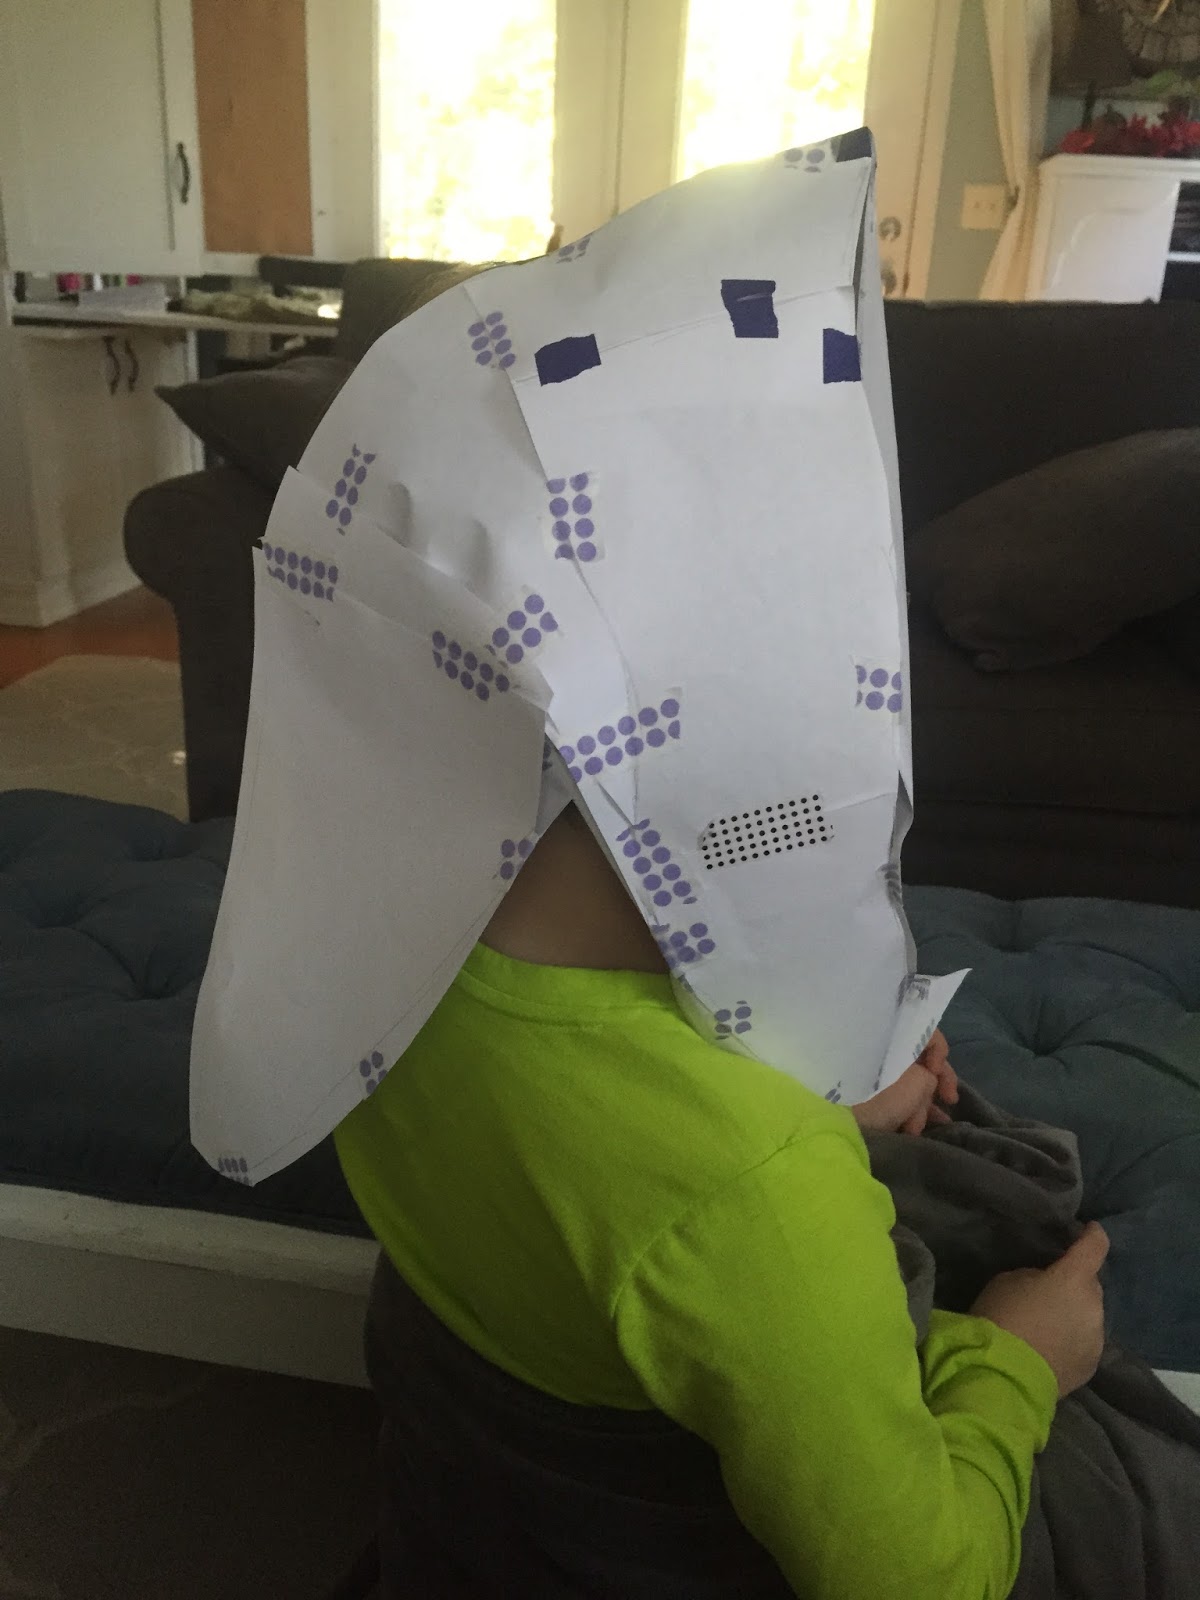
To start off, I made a paper mock-up to use as pattern pieces. There was a lot of trial and error and adjusting. Paper doesn't want to bend, but I needed something that would hold it's shape during the mock-up stage, so paper it was. The washi tape (super easy to re-position as I decided on the shape I wanted) is holding all my different pieces of paper together, as well as holding it onto Sunshine's forehead (she wasn't thrilled about that).


After I was satisfied with the look of the paper mock-up I carefully cut the paper apart and used the pieces as patterns to cut my white felt. I sewed the felt together and lightly stuffed it, concentrating on the head tails themselves rather than the portion that fits around the head. From there I taped off and painted the stripes and markings using blue craft paint.

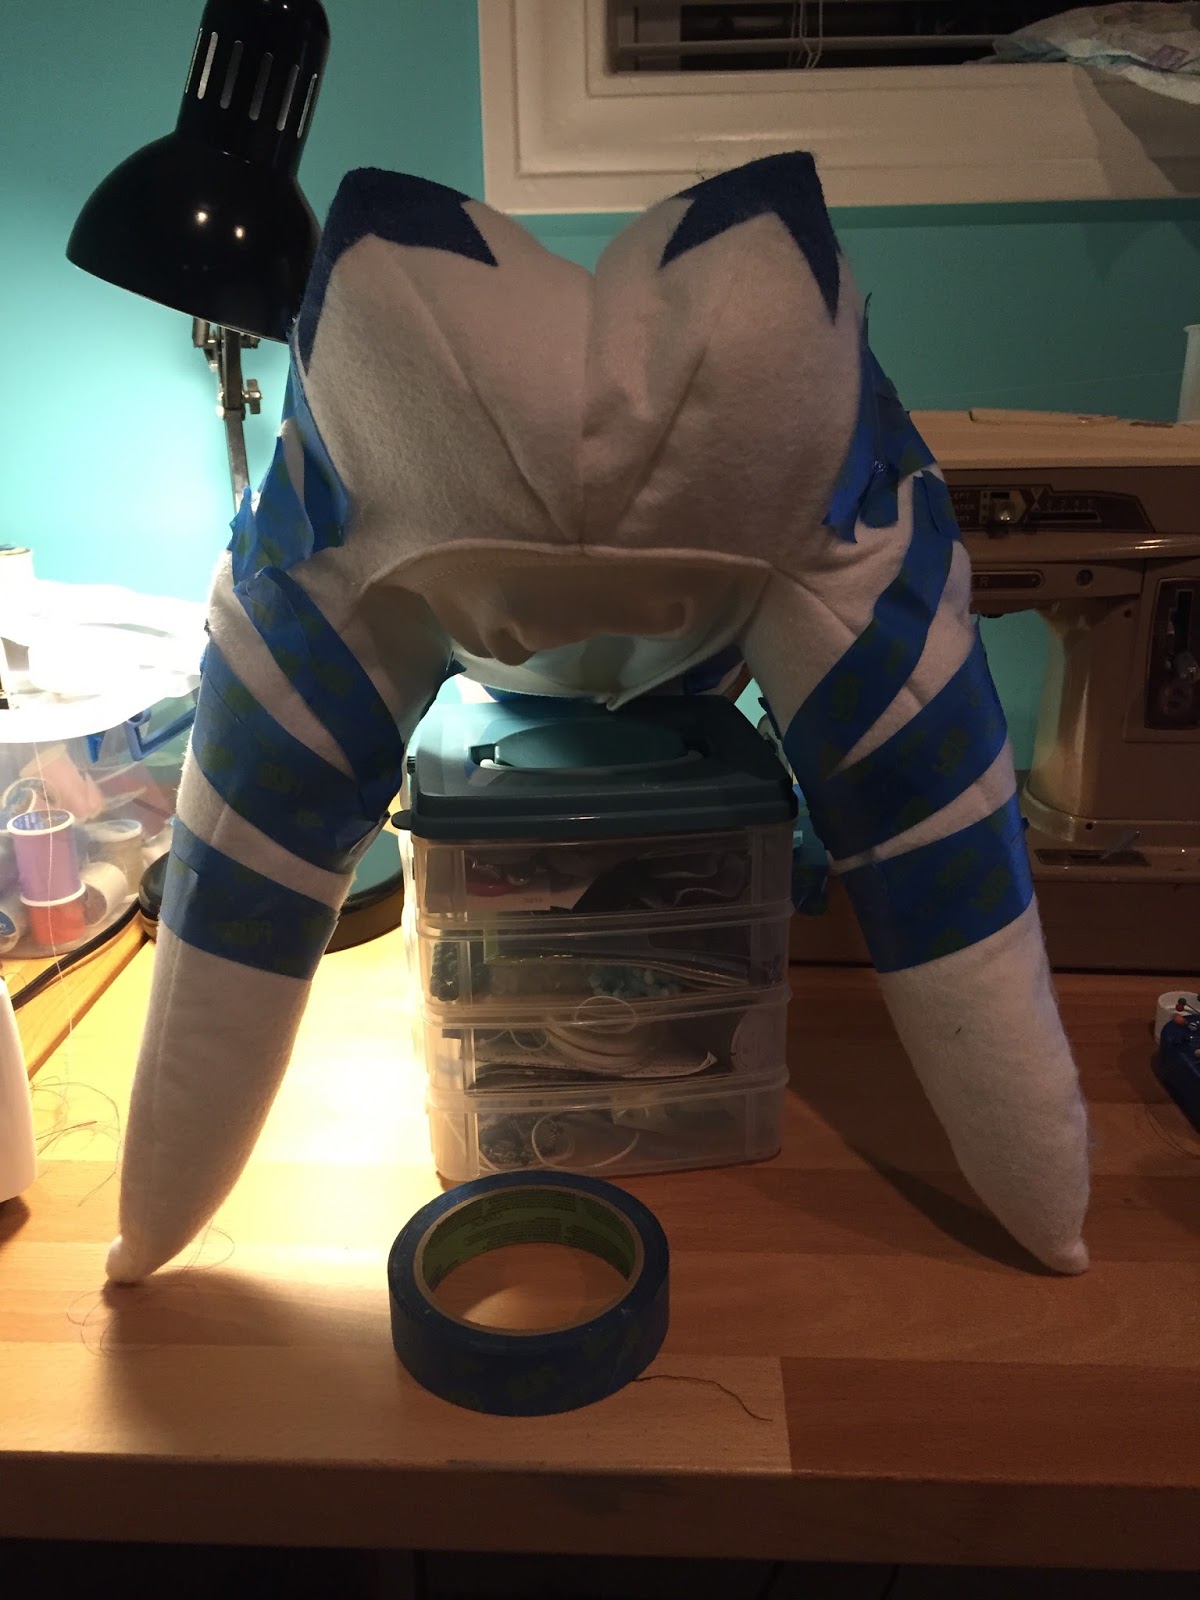

After the paint dried I strung some clear and light blue beads and sewed one end to the middle of the forehead. The other two ends hang free at the back on the sides. I also sewed a simple cap into the head tails to help them stay on Sunshine's head better.


The only thick craft foam I could find was a foam can cozy at Michaels. After cutting the rough shapes I needed I used the Dremel to form each piece into little pyramid shapes (super messy!). I painted each with a couple coats of silver craft paint and hot glued them to the head tails after the paint had dried.


The head tails are an important part of the costume and overall I'm quite happy with how they turned out. The only thing I'd do differently is to make them larger. Scale-wise they should be larger than what I made, but I was afraid they'd be too big so I erred on the smaller side. They'd look fine even if they were a bit too big, I think.

2. Lightsabers
We lucked out and found these in the dollar spot at Target a month or so before Halloween. I had planned on making another lightsaber handle to use with last year's lightsaber handle because Ahsoka uses two lightsabers, but Sunshine said she was ok using two of these, so that's what we did and I didn't worry about making anything. These lightsabers light up and make noise, in addition to being longer than the glow sticks we used for blades last year.

I used the skirt from an ugly outfit I found at the thrift store. It was just the right length to use the waistband at the neck and the hem as the hem. I cut the rest of the skirt down to fit Sunshine, making it a short sleeveless sheath dress. The waistband of the skirt became the mandarin collar of the dress. I cut the teardrop shape in the front (which was a pain to hem), but left the back intact (there's supposed to be a rather large cutout in the back). I didn't want to worry about the back keeping its shape and it was more work than I was willing to put in or had the time for. I put a zipper in the back for ease of getting Sunshine in and out of the dress.

4. Belt
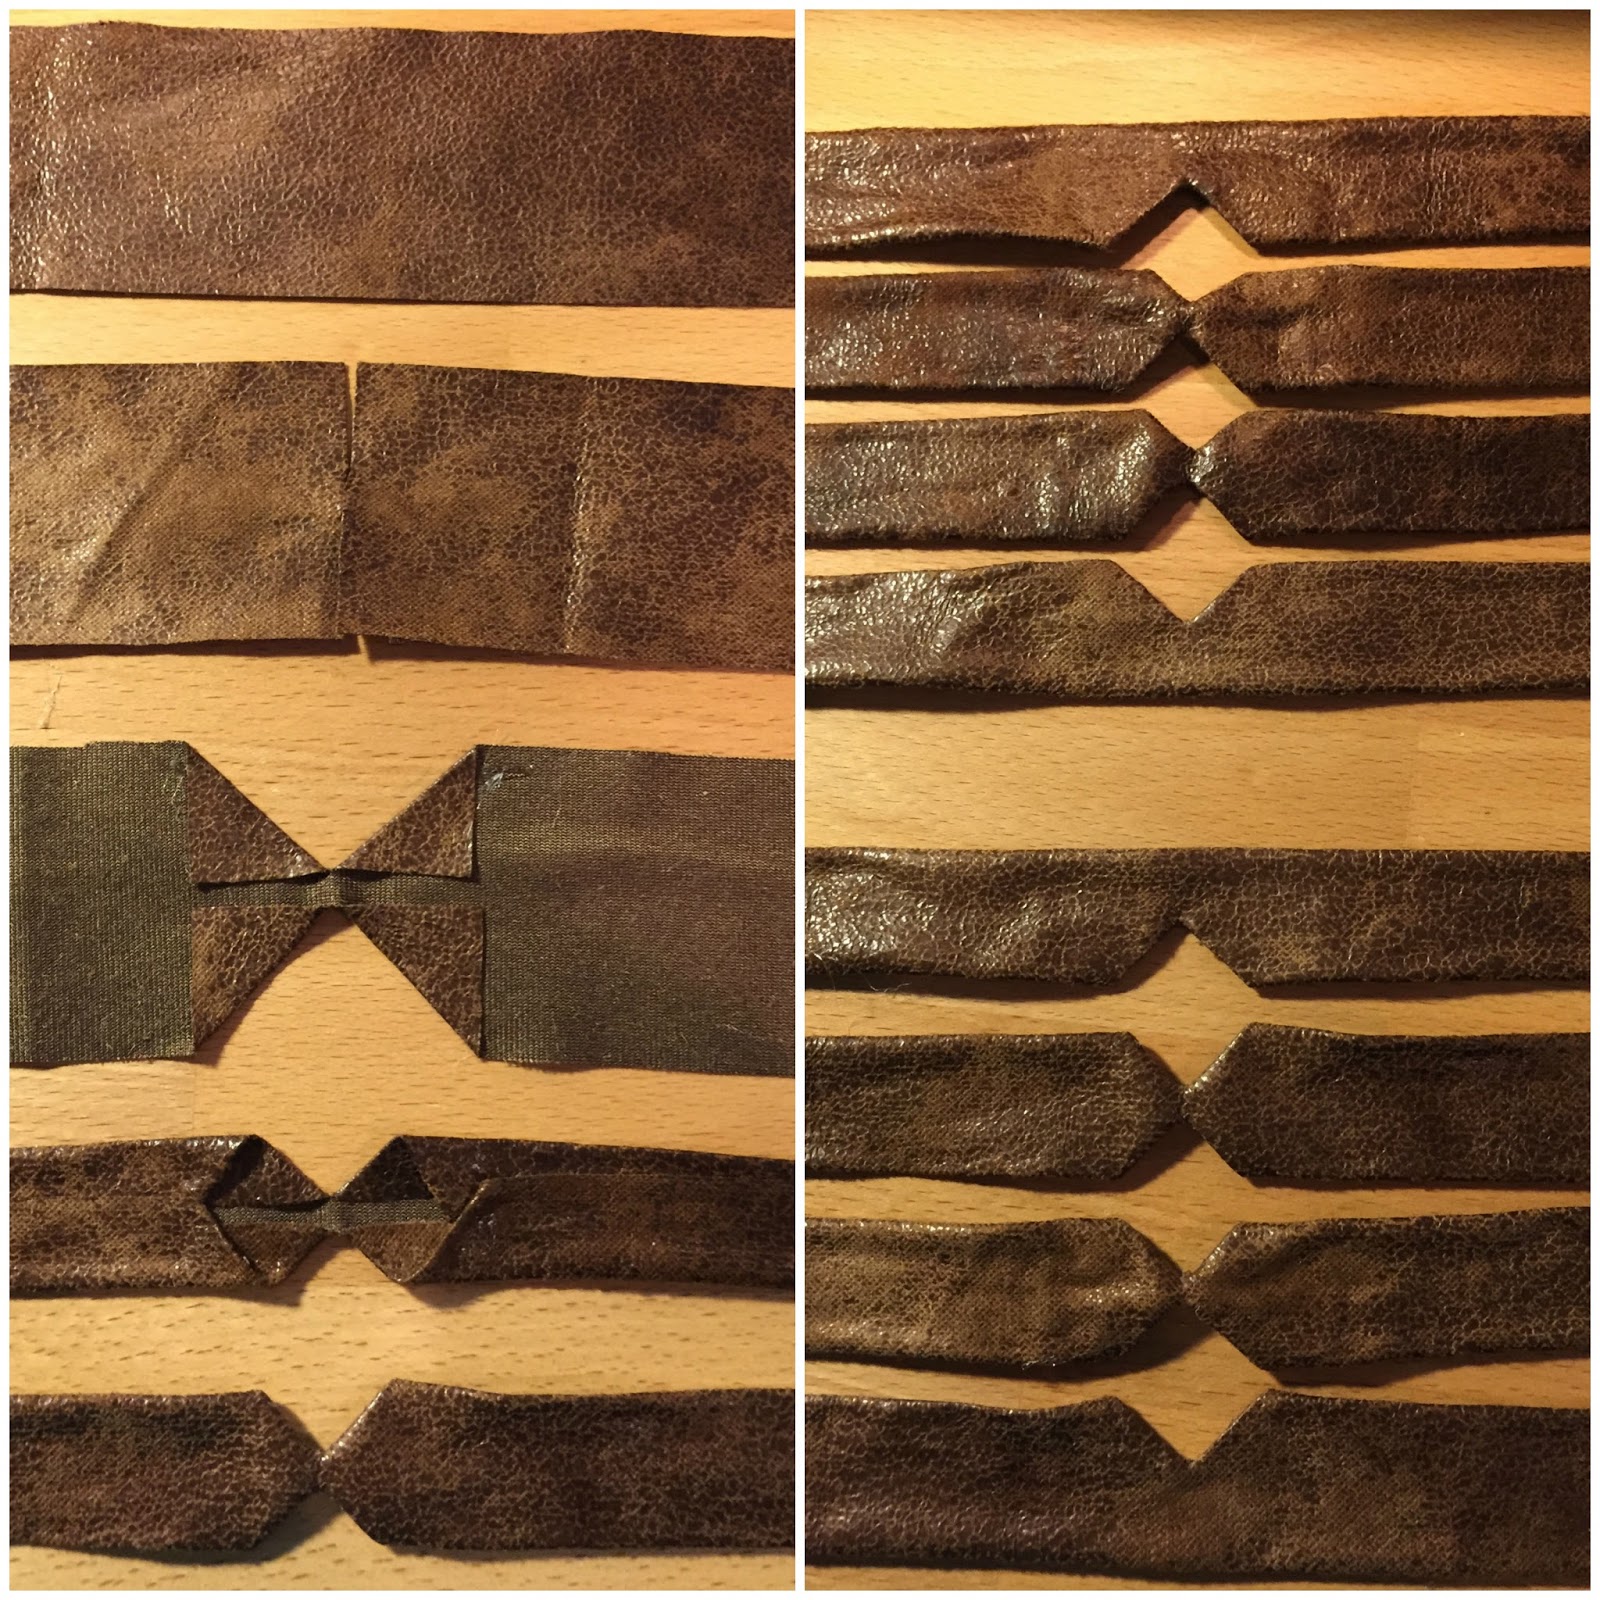
The belt was constructed similar to Mr M's Han Solo belt and I made them at the same time. I cut the buckles out of thin plywood (Sunshine's buckles are the smaller ones in the pictures below).


The belt straps were made of strips of the brown pleather I used on the Han Solo blaster holster. I also constructed a small pouch to go at the small of Sunshine's back. I used canvas on the inside to give it structure and sewed the belt straps to it.


I wired d-rings to attach the left straps to the buckle and used short screws to hold the d-rings of the right straps in place. I also used wire to attach the hanging purple piece. The top piece of wood hides the holes and wire. It doesn't look pretty on the underside, but it's effective.


The hanging piece is supposed to be a solid color with designs painted on it, but I had this fabric in my stash and it was the right mix of colors, so I used it. It has the right feel without being an exact replica. It works.

Here you can see the pouch at the back of the belt straps. You can also see the white cap that keeps the head tails on and it's quite obvious that the rear tail should be longer.

5. Leggings
Ashoka has gray leggings with diamond shaped cutouts down the outside seam, which allows her orange skin to show through. I planned on adding the diamonds using the same fabric as the undershirt, so I bought a pair of leggings from Kohls rather than use a pair she already had. In the end I just couldn't figure out how to make the diamonds look good on the stretchy gray fabric. I thought about appliquéing on top or placing the fabric on the inside, but I hate sewing stretchy knit fabric and didn't trust myself to make it look good. And I didn't really have time to try to make it work, especially if it didn't. While the leggings would have looked more authentic with the diamonds, they looked fine without them.6. Boots
The boots should have been maroon leather that matched the marroon leather arm bands and wrist guards. I used brown pleather for everything I made, so Sunshine squeezed into her old brown boots that are perfect Jedi boots.7. Undershirt with arm bands and wrist guards
I used an orange-ish linen blend to stand in for Ahsoka's skin. For ease of wearing I constructed a long sleeve shirt to wear under the maroon dress. It opens at the back of the neck with some velcro to hold it closed.
I made the arm bands and wrist guards out of thin brown pleather. I used small amounts of hot glue to get them in the right shape. This ended up being a problem when I sewed the bands into the sleeve seams: the glue kept gumming up the needle.
I sewed the arm bands and wrist guards into the seams of the sleeves so we wouldn't have to worry about them shifting out of place or falling off and getting lost. I think that part worked out very well.


I planned to make a backpack for carrying Rota (a baby Hutt that for some reason Ahsoka carries around in a backpack at some point) and candy, but I didn't have time and couldn't find the foam to use for the backpack body. I made a pleather cross-body bag instead, and I think it worked much better for holding candy than the backpack would have. I just made a simple bag with canvas on the inside for structure, a velcro patch on the flap, and a strap attached. While not authentic, it coordinated well with the costume.


9. Optional: Face paint
Sunshine wanted me to use orange paint on her face with silver for the markings. However, it was one more thing to worry about and I knew it would make a huge mess everywhere, so I vetoed the idea. Despite that, she was still happy with how it all turned out.

This costume could have been way more detailed if I'd had the time and money, but as I mentioned in my previous costume posts, that wasn't the case. So I used what I had or could easily find and didn't stress about what I didn't have or couldn't do. A good exercise for me since I'm a perfectionist :) I'm actually really happy with how it turned out and so is Sunshine.
You can see this year's family of Star Wars characters here
Last year's family of Star Wars characters can be found here