

This corner in our bedroom has always felt a bit empty and there's nowhere convenient to sit in our room. Our bed is too high to comfortably sit on while putting on shoes or socks and there's no other seating in our room. With those issues, I decided we need a chair or bench in that corner. I spent months trying to find a chair that fit this corner, but that proved to be a lot harder than I anticipated. I could never find a small chair that was the right size plus the benches that were close to fitting in the space were out of our budget.
After so much fruitless searching, I finally decided to just build a bench. Back in February/March-ish I purchased coffee table legs (15.25" long), fabric, foam, and buttons for the bench. Shortly after purchasing those supplies, I put the project on hold so I could get going on all the outdoor projects (patio, treehouse, shed, etc) while the weather was still bearable.

I used those short legs in the center- they have a nice shape and were cheaper than ones I could have bought online (I found these at Lowes). Still pricey in my opinion, but doable.
I'm trying to use what we have in our wood stash for my various smaller projects, so I dug through to see what I could use. When I was sorting the stuff in the shed I cut the legs off this side table that I built a couple years ago. It's been out in the shed, taking up space for awhile now- I never really liked how it looked and after I moved furniture around it became unnecessary so it was banished to the shed. This, along with two 8' 2x4's from the shed made up the majority of the bench.

the side table I cannibalized
With the legs off, I was left with a narrow oak plywood piece about 8.5" wide by 60" long. I cut it in half, which left me with two 30" pieces. I'd originally thought of making the bench 36" long, but I went with the flow and the bench is 30". By gluing the pieces together I had a bench surface 30" long by 17" wide.
I cut 2x4s to fit the size of the plywood pieces, but attached the legs to them before attaching the 2x4s to the plywood with glue and wood screws. The 2x4s support the top of the bench as well as add a little height.

checking the fit of all the pieces

everything securely attached

checking the result
Once the legs and framework were attached I cut more 2x4s to fit between the legs and used our Kreg Jig to attach the 2x4s to the legs. This apron adds stability to the legs and makes the bench more solid.

I sanded it all down, focusing on the corners that needed to be rounded down a bit.
At this point I was done with the building portion and I brought the bench in the house so I could paint the legs and upholster the top.
That was all done a couple weeks before Ocean was born and I didn't make any more progress on the bench until a couple weeks ago when I started working on it again here and there when I had a few minutes.
I wanted the bench to match the sideboard that we use as a dresser, so I finished the legs in the almost the same manner: I painted the legs with Annie Sloan chalk paint in Old Violet (though I skipped primer this time) and then painted the inner rings with some watered down black paint to highlight them. When that was dry I finished the legs with two coats of Minwax dark paste wax.

Once the paint and wax were dry and buffed I was ready to upholster the top of the bench.
I had purchased a roll of of project foam at wally world to use for the top of the bench. It's 6' by 3', so I was able to cut the foam in half and make a double layer. Instead of a 1" thick foam pad, I had a 2" thick foam pad, and for a lot cheaper than the foam I used on the tufted bench in our living room.

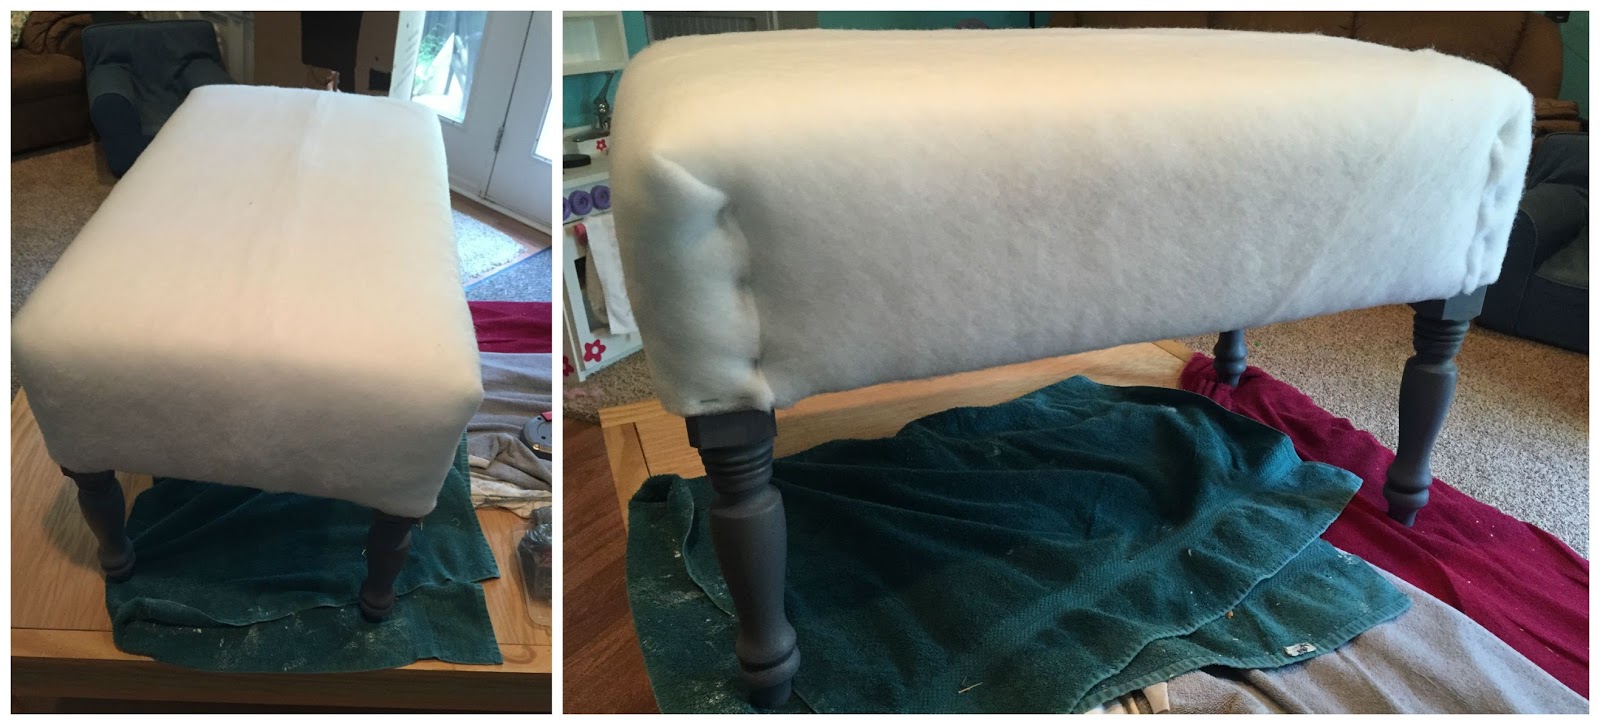
I measured and drilled holes in the wood for the tufting and used string to hold the foam in place while I trimmed it to fit and added the batting. I laid a double layer of batting over the bench and stapled it in place on the underside of the bench. Once the batting and foam were securely in place, I laid out my fabric over the bench in preparation for adding the buttons.

This time I used metal buttons that are tied to the bottom of the bench instead of using screws and gluing buttons on top like I did for the tufted bench in the living room. I like the end result a lot better and it's much more comfortable to sit on. The cost of buying enough all metal buttons with an integrated loop on the back was prohibitive when I made the tufted bench for the living room, but since this bench is smaller I didn't need as many buttons- only 8 rather than 29.

this fabric has a great texture
When I laid out the fabric I realized I hadn't bought quite enough fabric. There was enough to cover the bench, but not enough to do the diamond tufts. I wasn't too worried about it though and just let the fabric do what it wanted, which resulted in a much more relaxed look to the top.

After stapling the fabric in place, my final step was to add some nail head trim around the legs. I originally intended to have the nails run around the entire bottom edge, but decided that it would look better with the nails just on the legs.

I used 3 containers of these nails

I love how this picture turned out- my new goal is to take more like this one


It took about 6 months from purchasing the materials to the finished product, but with all the other projects I've finished in the interim, I'm ok with that :) This was a pretty easy project and if I'd had more time available, I could have finished it a lot sooner. I like how it turned out and it fits the space nicely.

No comments:
Post a Comment