While I was decluttering the basement, I decided to finally get the toys under control. I also needed to pull out the baby toys and make room for them. And I needed to make room for the play frig I'd promised to build Sunshine. There wasn't room with the toy shelves we had, and I realized awhile ago that the drawers tended to swallow toys and never get pulled out. Out of sight = out of mind.
The toy shelves I built a few years ago worked for awhile, but it was time for something new. They looked like this originally:
And then I loaded it up with Sunshine's toys. I loved the baskets and drawers, but they made it difficult for Sunshine to see her toys, so she only played with a small percentage of them.
Fast forward a few years, and this is what it's been looking like recently (this is actually after I tried to organize everything and realized it just wasn't going to work):
While trying to organize the toys better, I realized that the stationary shelves really didn't make for efficient use of the available space.After sorting and organizing and buying some clear bins (so the kiddos can see which toys are where and actually play with them), it looked a little better, but the bins hang over the edges. And there's no way River could get any toys in or out of the drawers.
After deciding that the current toy shelves just weren't going to work and I needed to build something that would work better, I headed over to Ana-white.com and checked out the plans. This time I opted for open bins on the bottom so that River would be able to easily see and pull out his toys. I used this plan but modified it so they're a bit narrower than the previous drawers so there would be room along the wall for the play frig.
the brown wood is cabinet grade plywood from my stash
the white wood is plywood I purchased
I also built a new shelf system to go above it. I made up the design for this based on the previous shelf unit and what I wanted changed. This time I made the shelves adjustable to accommodate different size bins or baskets. That's been a major pet peeve I had about the last shelf- there was wasted space because of the stationary dividers and shelves.
I got this far, then decided I wasn't liking how it looked where the shelf sat on top of the bins. Plus I wanted to make it harder for the shelf to slide off the bins.
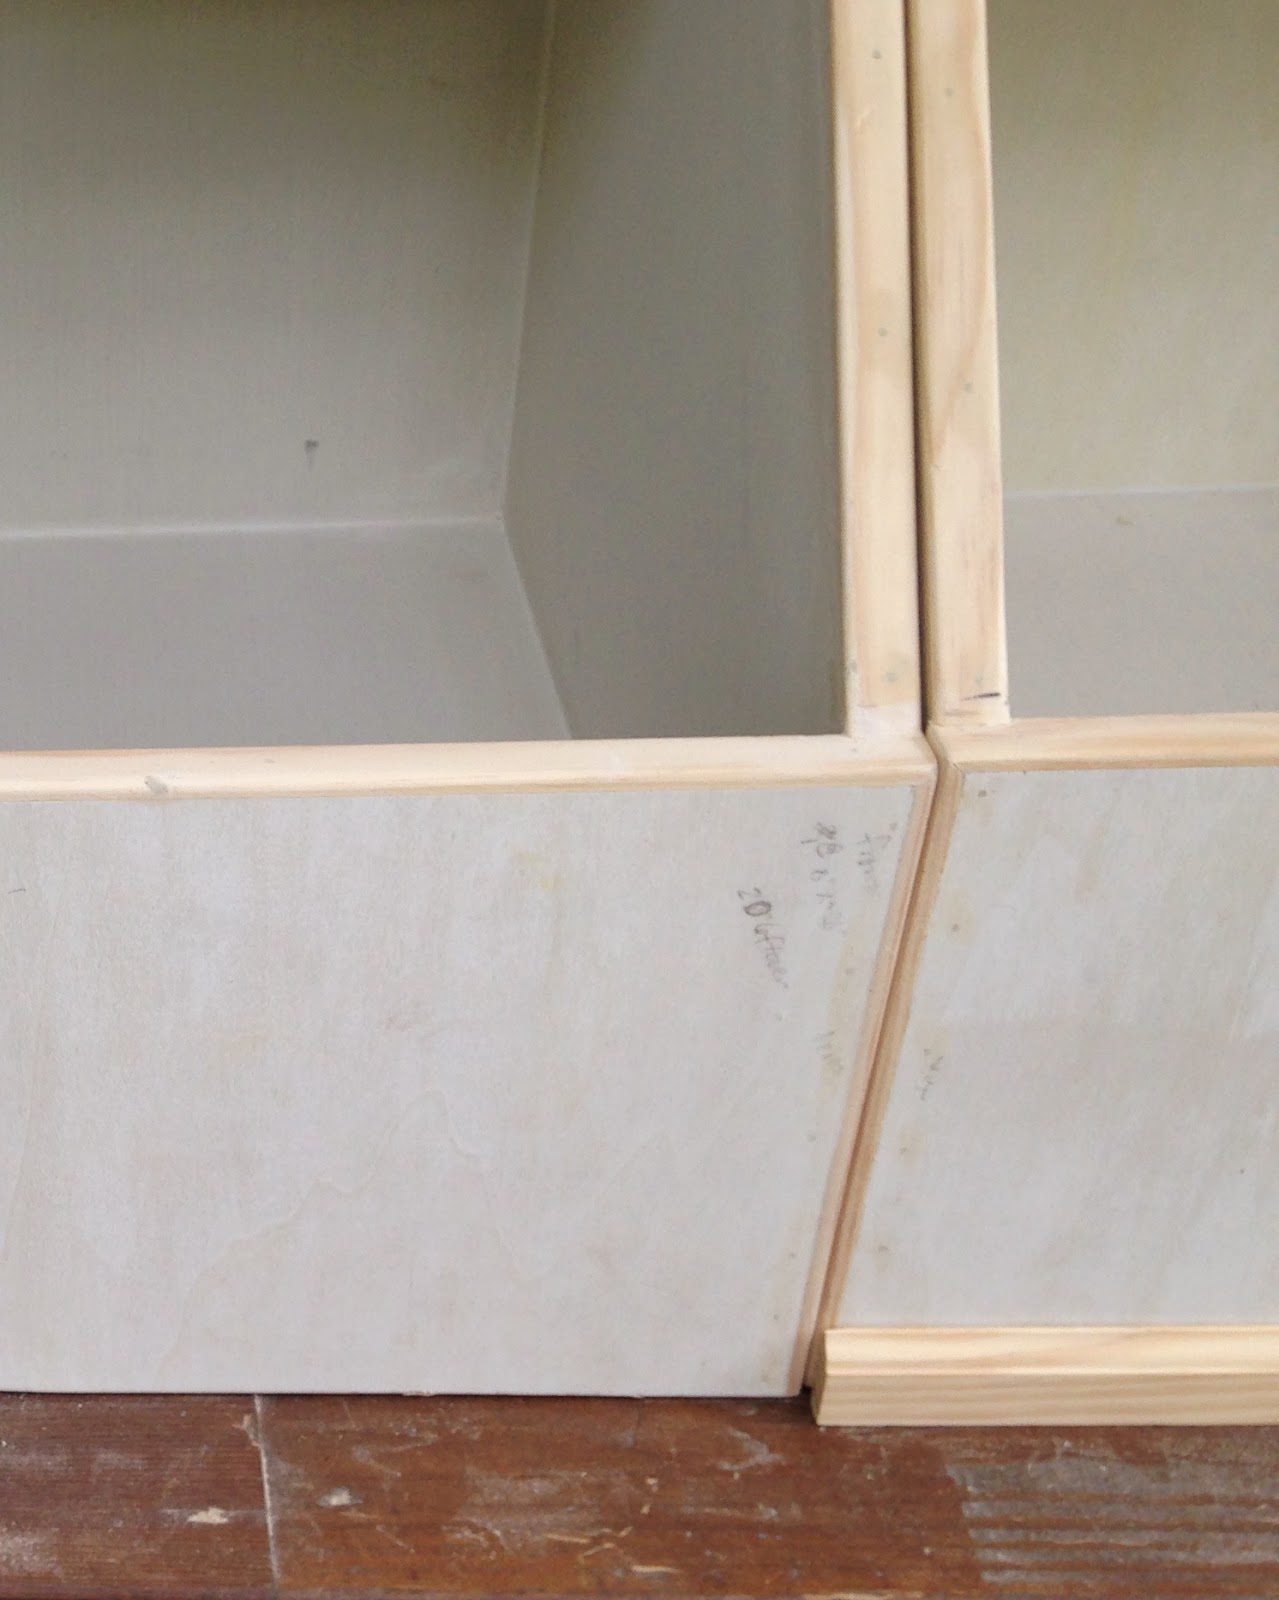
So I added some trim to the top and bottom of the shelf. I believe it's the trim you put around doors, but it worked very well for this purpose, and I was able to use pieces from my stash. The top trim looks kind of like crown molding and the bottom trim overhangs the bins just enough to keep everything lined up and in place. The trim goes a long way toward making the shelf look more finished.
I thought the front bottom edges looked plain and unfinished so I added strips of narrow trim I had in the shed.
Each shelf runs all the way across, with a center support in the front and back (I attached adjustable shelf strips to them as well as to the sides of the shelves). The center supports keep the shelves from sagging in the middle should they get a bit overloaded. They also help stabilize the shelf box. The center support in the back is behind the backing so it doesn't show, but still does the job.
I liked the baskets we had before, but toys tended to go in and never come out again, just like the drawers. So even though I personally prefer things neatly hidden, I ended up using clear plastic bins for the toys so the kiddos can see the toys and actually play with them. Now there's room for both Sunshine and River's toys and they take up less space. Win-win! Using up some of the wood in the shed is another win. Slowly but surely I'm using up the wood we have stashed in the shed.


It's been 6 years since you posted this! I'm going to build this gorgeous my granddaughter for Christmas. Thanks for the great pictures and blog!
ReplyDeleteThanks for your kind words! I'm sure your granddaughter loved your gift :)
Delete