
One of my pre-baby projects was to make a way of showing LMS' artwork that didn't involve magnets and the frig :)

various projects all being painted at the same time- last summer or fall
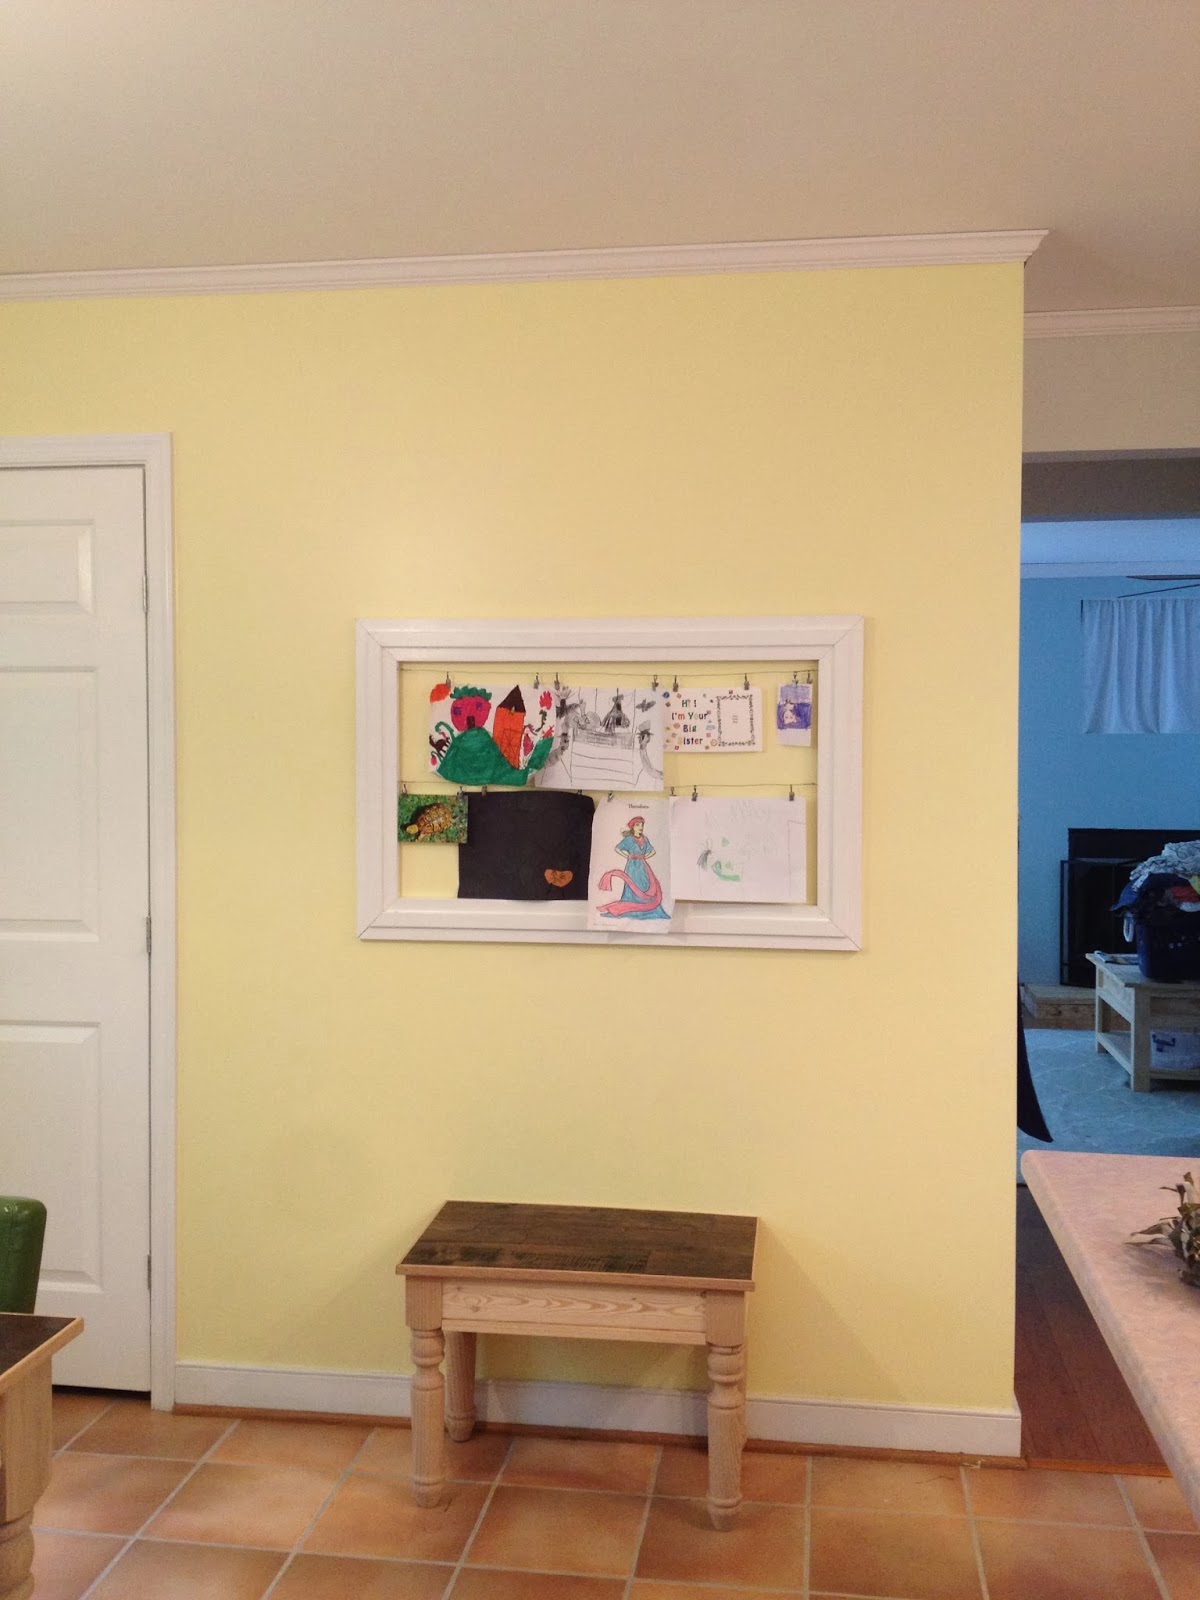
See those pieces that were for a bulletin whiteboard frame? I ended up scrapping the bulletin whiteboard idea- it was too big and bulky, but I was able to use 3 of the 4 pieces for a smaller frame to showcase LMS' artwork.
After mitering the ends, I used our Kreg jig and wood glue to secure each corner- quick and easy! The boards are are 1"x4", with lattice trim glued down the middle for visual interest.

Then I broke out some eye hooks, some Riktig clips from IKEA, and some wire and made two rows of hanging clips.


The process was quite easy- hooks in the frame, wire between the hooks, clips on the wire. The hooks on the clips were open- after hooking each one over the wire, I used pliers to squish it closed so it would stay on the wire.

I need to caulk and repaint the wood (like all my pre-baby projects), but the hard part is done. I hung the frame on the wall opposite the kitchen door, which makes that wall a lot less boring. LMS likes having a place to hang all her pictures, and I like not having them all over the refrigerator door, getting knocked off every time we brush past.
But that was only the first part of the project. I also made three shelves that we could place her 3D projects on. I used the idea I found here, but used wood scraps I had on hand. The backs of the shelves are 1"x6" boards leftover from the master bath mirror frame, the bottoms are 1"x3" boards leftover from the homeschool cupboard, and the 1"x2" boards on the front were sitting in the shed. I trimmed the wood pieces so they were the same length, then used some wood glue and nails from the nail gun, and they were done.


I flattened some hooks that came with the Riktig clips (see above) and screwed them into the backs of the shelves. I could have used a sawtooth hanger, but I already had these out, so why bother?

I also used a command picture hanger (the velcro kind) to keep the shelf from shifting once on the wall.

I had wanted to place the shelves on the wall next to the art frame, but there was no stud to anchor them to, so I hung them on the wall between the window and the coat closet.

When I made the shelves, one of them ended up about an inch and a half wider than the other two, just because one 1"x6" was a bit longer. I thought it would make things a little more interesting, but then had second thoughts, so I originally hung just two of the shelves.

We don't actually have a lot of 3D projects yet, but we have quite a few planned in our art curriculum this year, so I wanted to have the display space.


But it looked wrong with just two shelves. I know they say to decorate in threes, and this was a case where that is definitely true. It needed the third shelf to look more finished. Though I might go back and chop it to the same length as the other two, because it's too close to the width of the others and it just looks a little off.
Once I do that, I'll also fill the nail holes and paint the shelves.

I can't wait till we have some more projects to put on the shelves.

No comments:
Post a Comment