

The night we moved into our house, I took a nice long bath in our new soaking tub. While I was drying off, I heard water dripping downstairs. I rushed downstairs and found water dripping from the ceiling. I grabbed some plastic bins for the water to drip into and some towels to clean up the mess. The next day was Sunday (of course), but on Monday I called a plumber who came out and found the source of our problem: the coupler between the drain and the drain pipe had crumbled. Unfortunately, he only found this out after cutting 3 holes in our ceiling. After replacing the coupler, he patched the holes, but left the mudding and sanding to us.
After very close inspection (once we knew what to look for), previous water damage to the ceiling could be seen. We figure the prior owners (who only lived here two years) used the tub once, it leaked, and they never used it again. And they didn't tell us. Not cool.
We discussed just breaking out the mud and finishing off the patch job. There was two problems with this: I was doubtful we could make the patch job really look good, and I'm really allergic to the dust that comes from sanding down drywall mud. I get sick even if I'm using my face mask. And the dust would spread throughout the house, continuing to cause problems.
After some thought, I decided I wanted to put tongue and groove paneling on the ceiling. Mr M didn't have a preference, especially since he knew he wouldn't be doing the work because of his crazy work schedule :) Once we decided what we wanted to do, we still had to wait till some in-progress projects were finished. Which, of course, took a while.
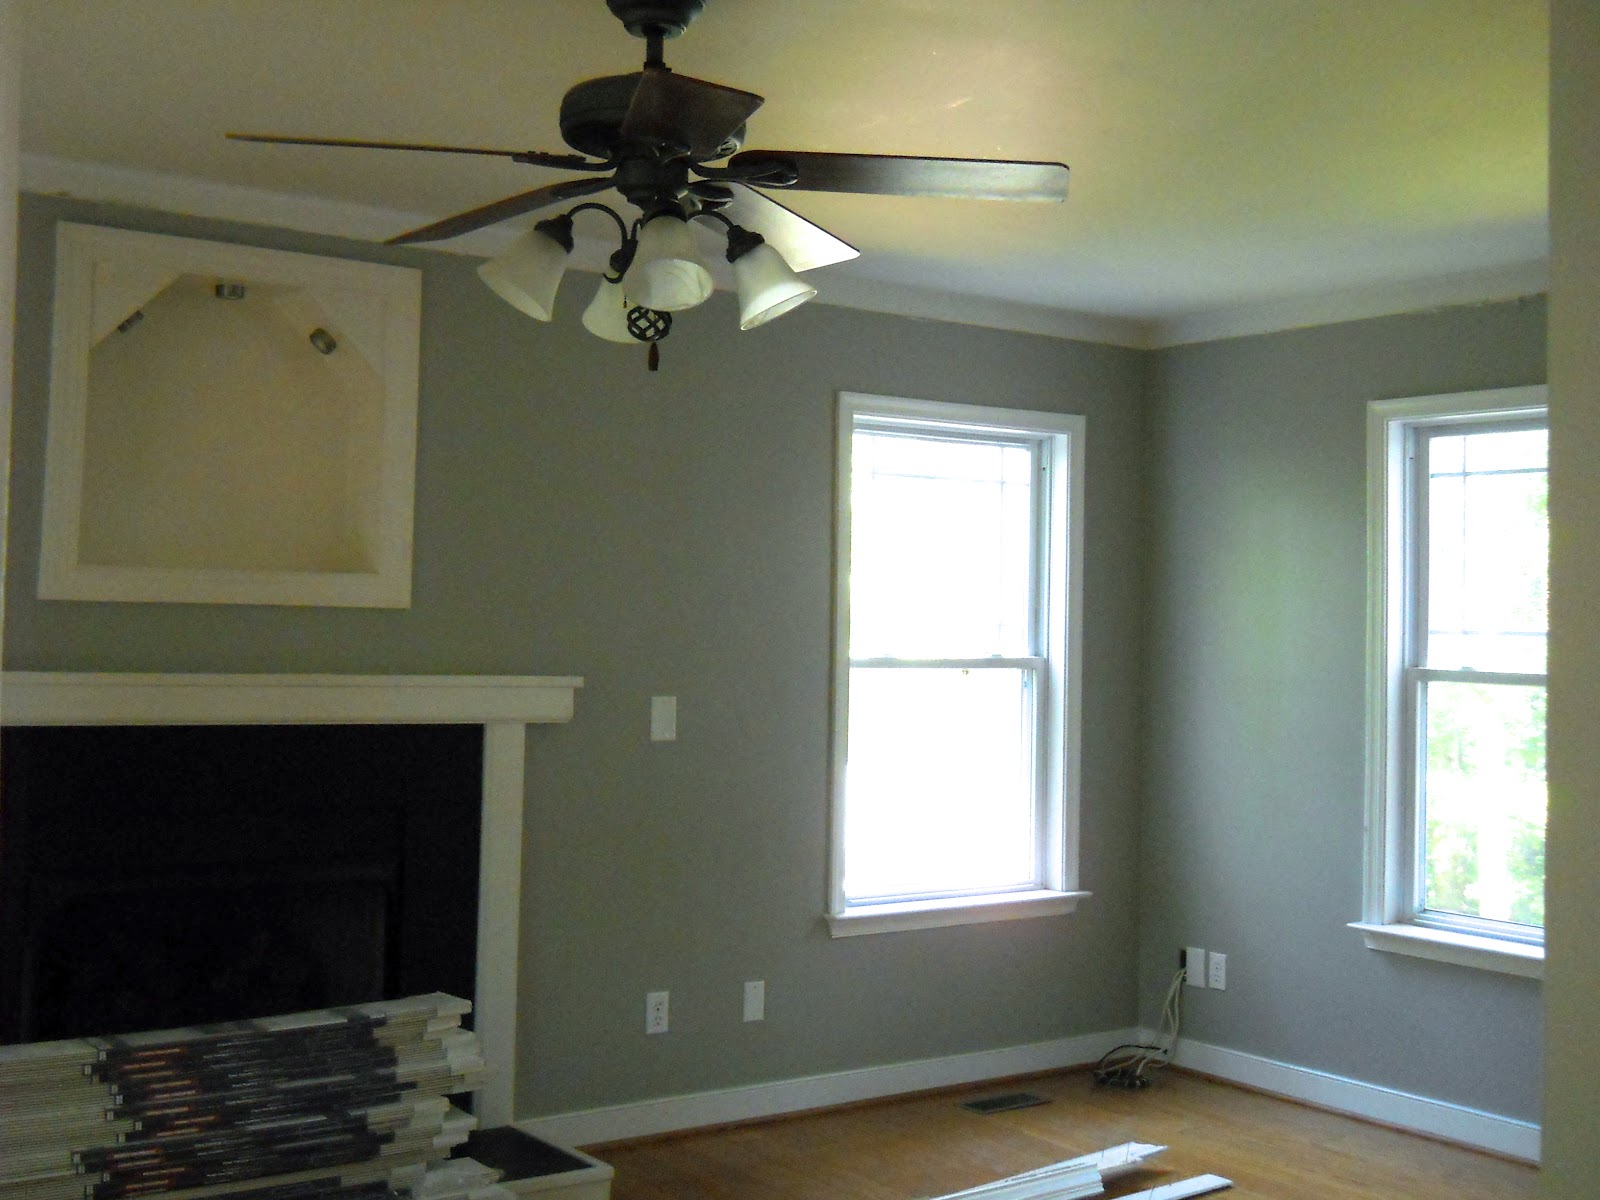
So for the last year and a half, the ceiling in our living room has looked like this:

We bought the boards back in July because I thought we'd be able to finally get started. Of course, it didn't work out that way, so they've been sitting in a pile on the floor of the living room.
Until Friday night.
Friday my dad came for one of his short visits. Since we still hadn't gotten the paneling up, I asked my dad to help me finally get it done. He was kind enough to agree and to stay up till 1:30 am with me as we powered through the project. It's a good size room, but it only took 5 1/2 hours to cut and fit and nail all the boards.

I love how it looks! It totally changes the look of the room- my dad got a farmhouse vibe off it, and I'm hoping once we're done with everything it will have a beach cottagey feel. I have to spackle and sand all the nail holes, but then I can paint it and put the crown moulding back up.
I had originally thought I could do this project myself, with the help of a tall tripod that would hold up one end of the board while I worked on the other end. After installing the boards with help I have to say there is no way I could have done this on my own- not with the 8' tongue and groove boards. I'm so glad my dad was able to help me with this!

Materials:
21 pkgs of 5 1/4"x 8' primed composite tongue and groove boards (4 boards to a package)
Lots of 2" brads (already had)
brad gun
radial saw (for cutting boards to length)
table saw (for ripping the boards that were put in last and needed to be narrower)
jig saw (for cut outs around the electrical boxes for lights)
Method:
These boards are actually quite lightweight and only 1/4" thick, so we didn't bother with adhesive or even finding studs- just used lots of brads, especially on the corners of boards that butted up to each other. We started in one corner and worked our way across the room. We also moved up and down the room, turning when we came to the wall and working our way to the other wall, where we turned again. We tried to stagger where the seams were by using boards of varying lengths, which sometimes meant chopping a board shorter before nailing it up so that the seams weren't too close to each other. Because I'll put the crown moulding back up we didn't worry about butting the edges right up to the walls. Since the boards are tongue and groove, each one has to be fitted into the one next to it. Most of the time this went pretty well, but on occasion we used a section of a 1"x12" board that I pulled out the scrap bin to help push the boards together. We had to be careful not to ruin the tongue of each board, and the 1"x12" did a good job.
Why did we decide on the composite boards rather than solid wood boards? I had read some reviews that cited many problems with the tongues and grooves of the solid wood boards (they were in a package and couldn't be inspected before purchase). There were no such problems cited for the composite boards. Of the 21 packages we went through, we only had one board that truly could not be used- the groove ended up on the bottom of the board rather then down the middle of the board. We set it aside, but we ended up ripping it down and using it to fill in the narrow space between the last full width boards and the wall, so we were still able to use it. The composite boards are also lighter and thinner than the solid wood boards, which is good, since we installed them on the ceiling. We could have used adhesive, but I didn't want to do something quite so permanent. I was a little concerned that it would be obvious that they're composite, but I don't think that will be a problem, especially once I've painted them.
Now I'm trying to decide if we should put white fan blades on the ceiling fan. I like the gray metal and it's a decent style as far as fans go, but I don't think the cherry wood fits with the beachy feel I'm aiming for. Thoughts?
No comments:
Post a Comment