
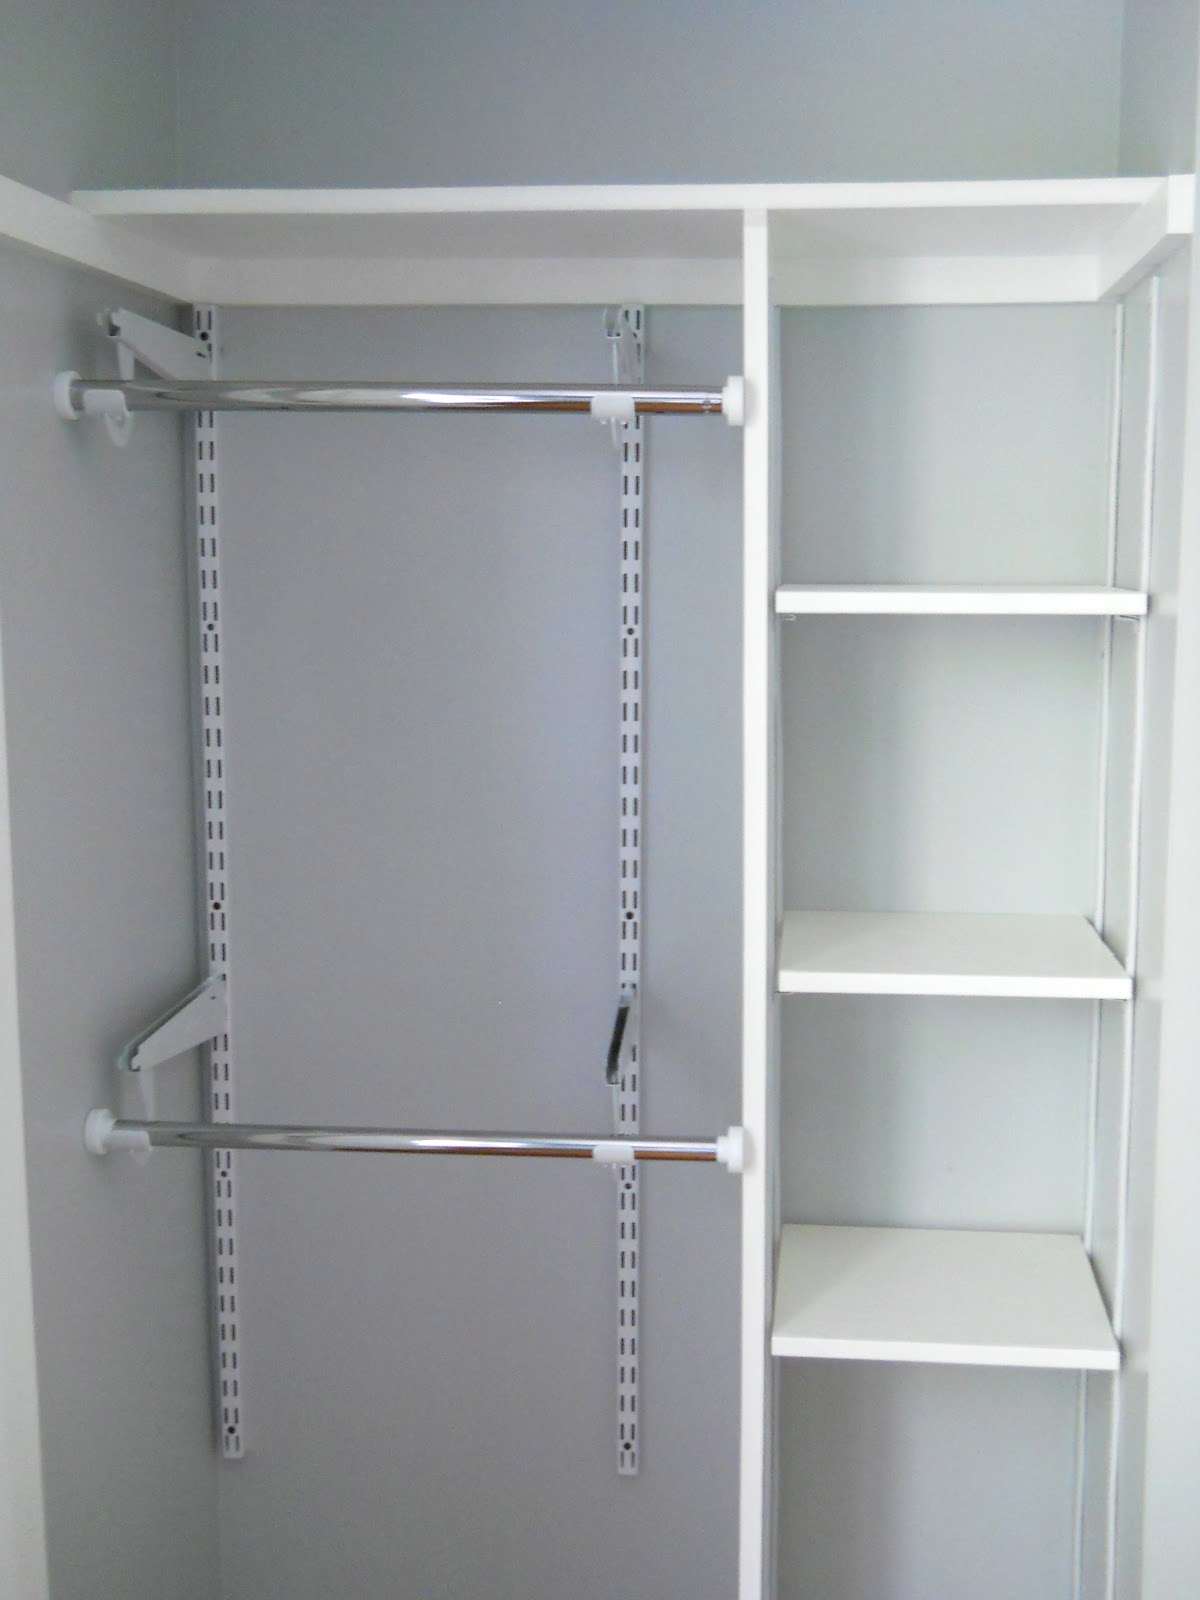
Once again I didn't get a picture of it stacked full of stuff (we've been storing our suitcases and my massage table in there), but here's a picture of it empty. I really don't understand the point of putting a clothes rod 6 1/2 feet up, in what will most likely be a kid's bedroom. Who thought that would be a good idea?

Like the other closets in this house, it was severely lacking in usefulness and adaptability. I altered this closet similarly to how I did LMS' closet.
I removed the lower shelf and did some spackling and sanding. After painting the inside light gray, I moved that lower shelf up so it was below the upper shelf at a more useful height. Then I added a vertical divider (that I'd already painted) so I could install some shelves. I screwed into the divider from the shelf above it, then added two L braces at the floor to keep the divider in place.

Next I added my favorite shelf strips. Seriously, these things are so useful! I looked through my wood stash and found pieces of shelving leftover from the library bookshelves- too small for the library, but just right for the narrow space in this closet.

Then I screwed the vertical supports into the studs and added the clothes rod supports and clothes rods. I used my Dremel to cut the metal rods to width because they were about an inch or two too long. The plastic end caps keep the metal ends from damaging anyone/thing and keep the rods in place between the wall and the divider.

This time I remembered to chisel out space for the hinges and it makes a huge difference in how easily the doors close.
We still don't know if we're having a boy or a girl (one more month till the ultrasound!), so this room could stay the guest room or become a little boy's room. Either way, this closet is flexible enough to accommodate either use.
I used the same baskets and bins I used in LMS' closet. This closet is too narrow for two of the clear file boxes to fit on the shelf, so there's a basket and a file box up there.


So much better! I really like the light gray with the aqua on the walls and the space is now so much more efficient.

For now we're storing baby stuff in the baskets and bin. Once we find out if the baby's a boy or a girl we'll move things around a bit. For now it makes it easier to see what we have - I've slowly been buying a few things here and there to supplement the few things remaining from when LMS was a baby. I don't want to make the mistake of buying things we already have :)
No comments:
Post a Comment