
.JPG)
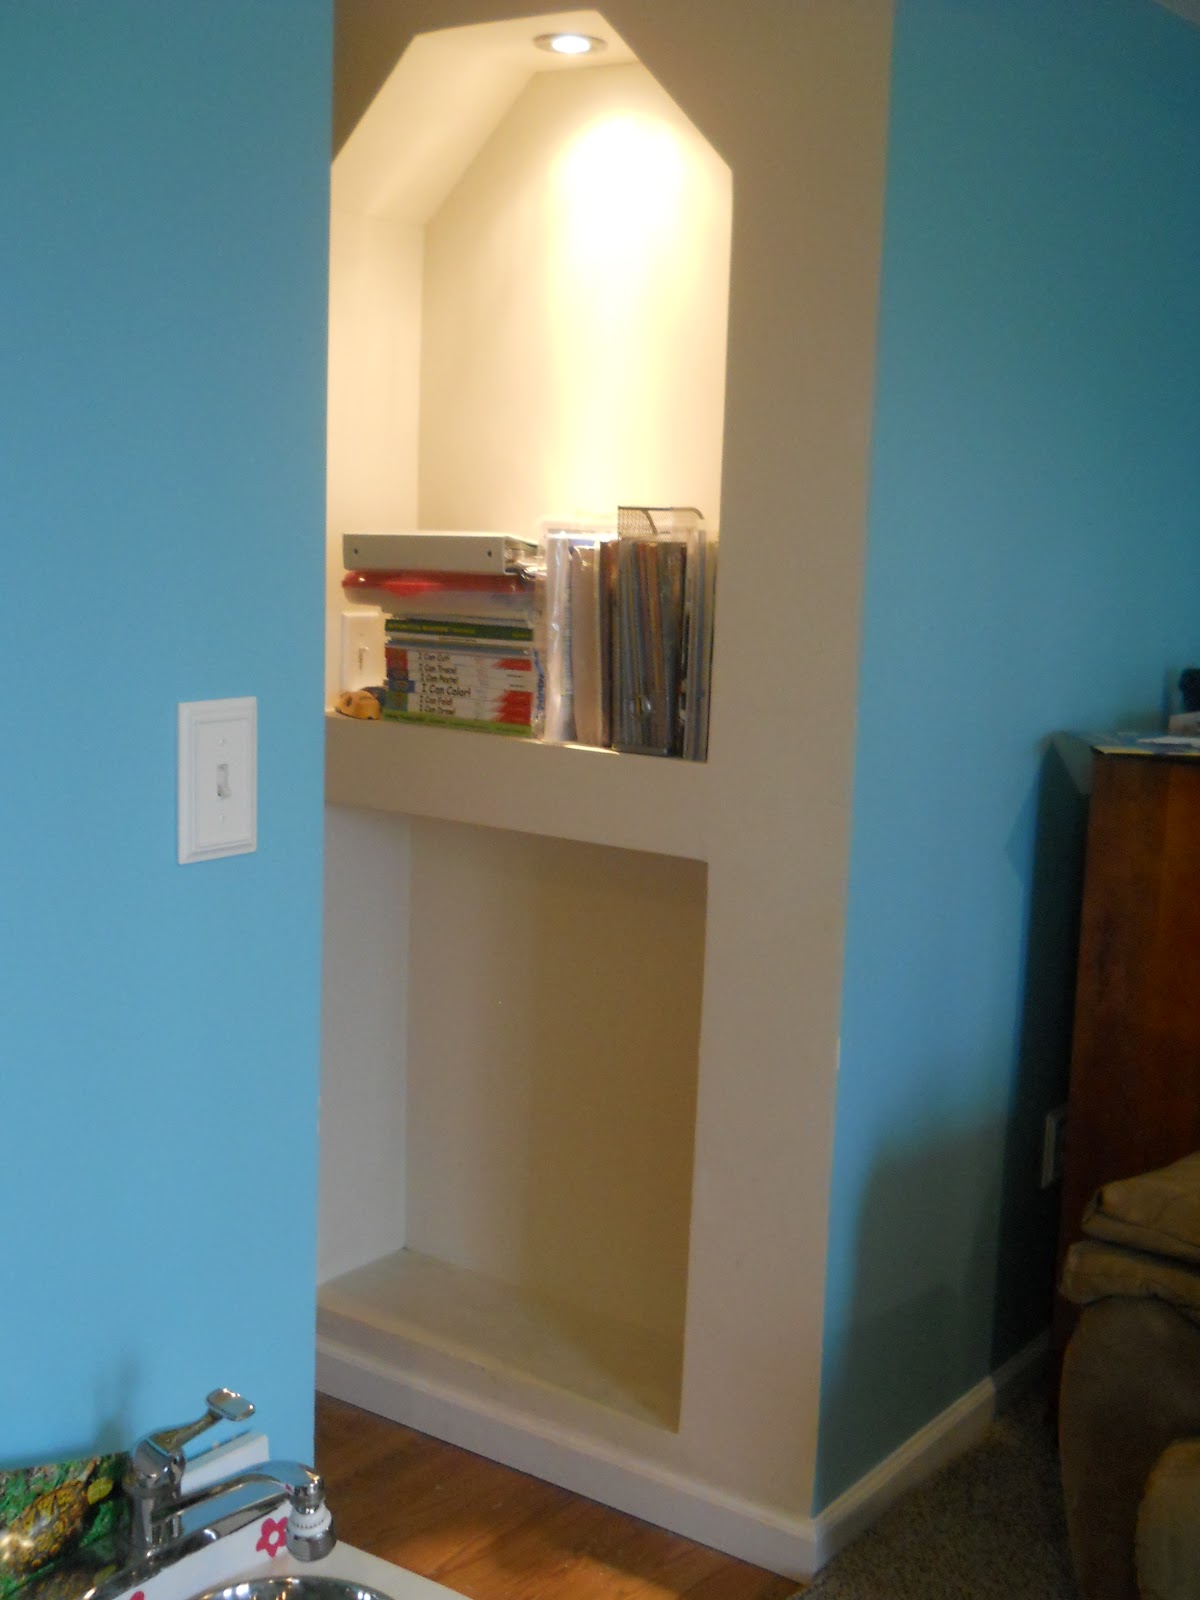
We have this odd little space in our basement. For some reason, the previous owners put in a little alcove when they finished the basement. It's in the tiny hallway between the main room and the bedroom (which has no doors- why????), and faces the closet under the stairs. When we looked at the house, they had a vase in the upper space.

The lower section seemed like a waste of space, though. I couldn't leave it empty (that just wouldn't do!), so I've tried different things: stacking plastic containers in it, storing piles of magazines and books in it, and letting LMS keep her play castle there, but I didn't like how cluttered it felt.
We've been working on getting the basement all put together to our liking, and we're almost done. One of the things we did was to move our larger couch downstairs so we can get comfy while watching movies. The basement is always cooler than the rest of the house, which is great in the summer, but not so great in the winter, so we have several large fuzzy blankets to snuggle under. Unfortunately, they inevitably look like this:

or this:

Neither option really worked for me and my OCD (big surprise, I know). I had been thinking about what to do about the blanket situation, and had thought of building something like this:

or something like this:

I love Ana-White.com- she's got so many great plans! However, we already have so much stuff in the basement that I really didn't want to add another piece of furniture. As I let the problem float around in my head, I realized I could take the tip-out idea from the recycle/trash bin, and build it into the useless space in the wall.
After some more thought, I drew out my idea and got started. I built a wood box that went inside the space- top, bottom, sides, and back using a 1x10 board for the box and a 1x12 board for the back.


While that was drying, I worked on the door. I framed a piece of beadboard with 1x3s, caulked, primed, and painted it. Then I attached a pull to the top edge of the door.

Once everything was dry, I attached hinges to the door and the box. But, since I had to change the hinges I bought first for a larger set, there wasn't enough space for the door to close :(

Grrrr. So I broke out the belt sander and sanded down the top edge. After cleaning up the mess I'd made, I attached a magnetic catch to the inside of the door and attached some rope so the door wouldn't open all the way. Then I repainted the top edge.

I'd planned on using chain, but I couldn't cut the chain down to size. Then Mr M came home and suggested I use the metal cutting attachment of the Dremel. He cut the chain for me (thanks babe!) and I switched out the rope for the chain, wiped everything down, and it was done.

.JPG)
Plenty of room for the big fuzzy blankets. I love it!
.JPG)
Any suggestions as to what I should do with the upper space?
I like it! Great use of an otherwise useless space. My OCD side completely approves...
ReplyDeleteI love this, I am a fan of finding storage where we can. I love the look of the door you put on.
ReplyDelete